Your Complete Guide to 3D Renders for Marketing Your Real Estate Project
.jpg)
There is no better marketing tool than visual imagery. Designers find it very easy to communicate ideas through images, and it’s quite rightly said that a picture is worth a thousand words! Research has proven that imagery is the most effective way to communicate a message, whether it’s through digital media or print. Visual posts that have well-presented images have been found to convey greater media impact than text alone, and the plethora of new-age technologies available today indicate that the future of digital marketing will be more sensory-rich.
WHAT IS VISUALIZATION?
Visualization is defined as any technique that uses images to convey a message. As a designer, you already know that a 3D rendering sets the basic understanding for your project, and as a real estate agent you may have already found that by using images in your marketing strategies, your sales have increased multi-fold. 3D Rendering or 3D Virtual reality creates first impressions that last, and prospective home owners are more likely to remember your project if they have seen a stunning image of it.
In this article, we provide you with reliable information on the advantages of using architectural renderings for effective communication. We walk you through the entire process, from start to finish, of visualizing your next real estate project. Here’s how to enhance your sales and improve your marketability by using 3D renders as a marketing tool!
GETTING STARTED
At the outset, it is important to be very clear about the requirements that you are giving to the visualization studio. The brief you present to them should include not just the architectural plans and detailing; it should also include psychological aspects such as the buyer-personas, details of the surrounding neighborhood, and unique selling propositions of your project. In order to portray the image in a way that appeals to your prospective audience, all these details are more important than you may think.
Here are all the details you will need to put together and communicate to the 3D artist:
- Architectural drawings on AutoCAD, SketchUp or Revit models are integral to the visualization process. While completed and finalized drawings are ideal, it is understood that quite often the design may not have been thoroughly fleshed out. In such case, do ensure that the artists are aware that the details are still evolving. Include all the building designs and specifications, such as floor plans, elevations and sections, site plan and landscaping details if you have them.
- If your 3D render is of the interior of the building, you will need to communicate all the interior detailing in the form of plans, elevations, complete layout details, materials and accessories. The interior is a very critical part of the visual narrative and it is often what makes the client make a positive buying decision.
- Right at the beginning, you should also let the studio know the time frame you have in mind, so that they are also able to prioritise their pending tasks accordingly.
WHAT NEXT?
While every 3D Visualization studio works in a different way, the basic workflow is the same.
INITIAL MEETING:
Once you have decided upon a particular service provider, you will be assigned a SPOC (single point of contact) who will lead the dialogue on your project. This is the person who will manage your project, work out budget estimates and schedules, and communicate your requirements to the team and vice versa. During the initial meeting, you should let them know all your expectations with utmost clarity. Put down all your discussions in writing so that there is no ambiguity at a later date.
DESIGN BRIEF:
Lay out all your requirements in the form of architectural and interior design drawings, material specifications, mood boards with pictures of references, catalogues, brand language, and potential audience. The more information they can refer to, the more on point will be the final 3D images that are created.
As an example, imagine that your project is located in an expensive neighborhood, and you are trying to sell to the younger demographic. If your image includes a beautiful neighborhood park with a young mother pushing a pram, it may appeal more to your suggested audience.
Usually, your studio will ask you these questions, but in case they do not, make sure that you give them a clear picture of what your expectations are. Better communication on your needs will help to avoid revisions so that you can get your final output more quickly.
ARTISTIC DIRECTION:
The design studio will ask you what your artistic expectations are. They may show you different images to see which you like. Art direction involves deciding upon the time of day and the weather, essentially creating the right mood through the use of people and props like vehicles, furniture, and landscape elements. Best practices in design and marketing language are incorporated into your image to make it visually appealing to your viewers.
WHAT IS THE PROCESS?
Typically, there are 3 stages in the creation of your 3D render: Grayscale, Colour Draft and Final Render.
GRAYSCALE:
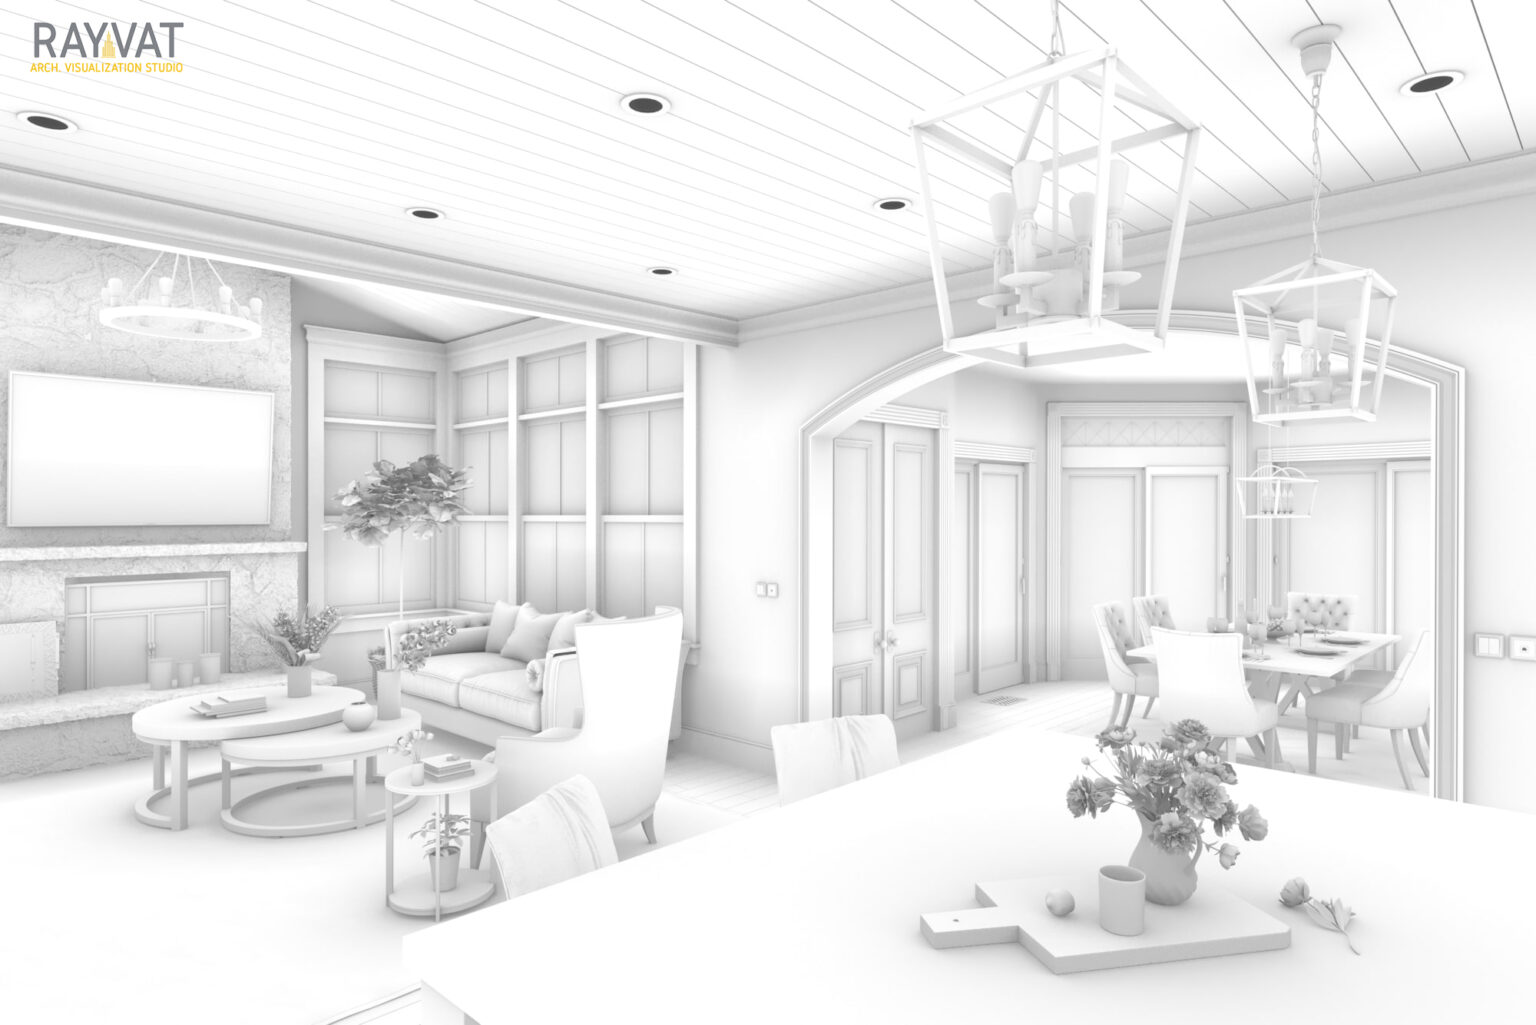
The initial model will be created in Grayscale, and will include the massing, furniture and fixtures. At this stage, the artist will determine whether the overall appearance of the massing looks good from that vantage point, and whether the camera angle is one that will showcase the building in the best way. Your artist will probably give you several options and you can choose which one works best for your needs.
COLOUR DRAFT:
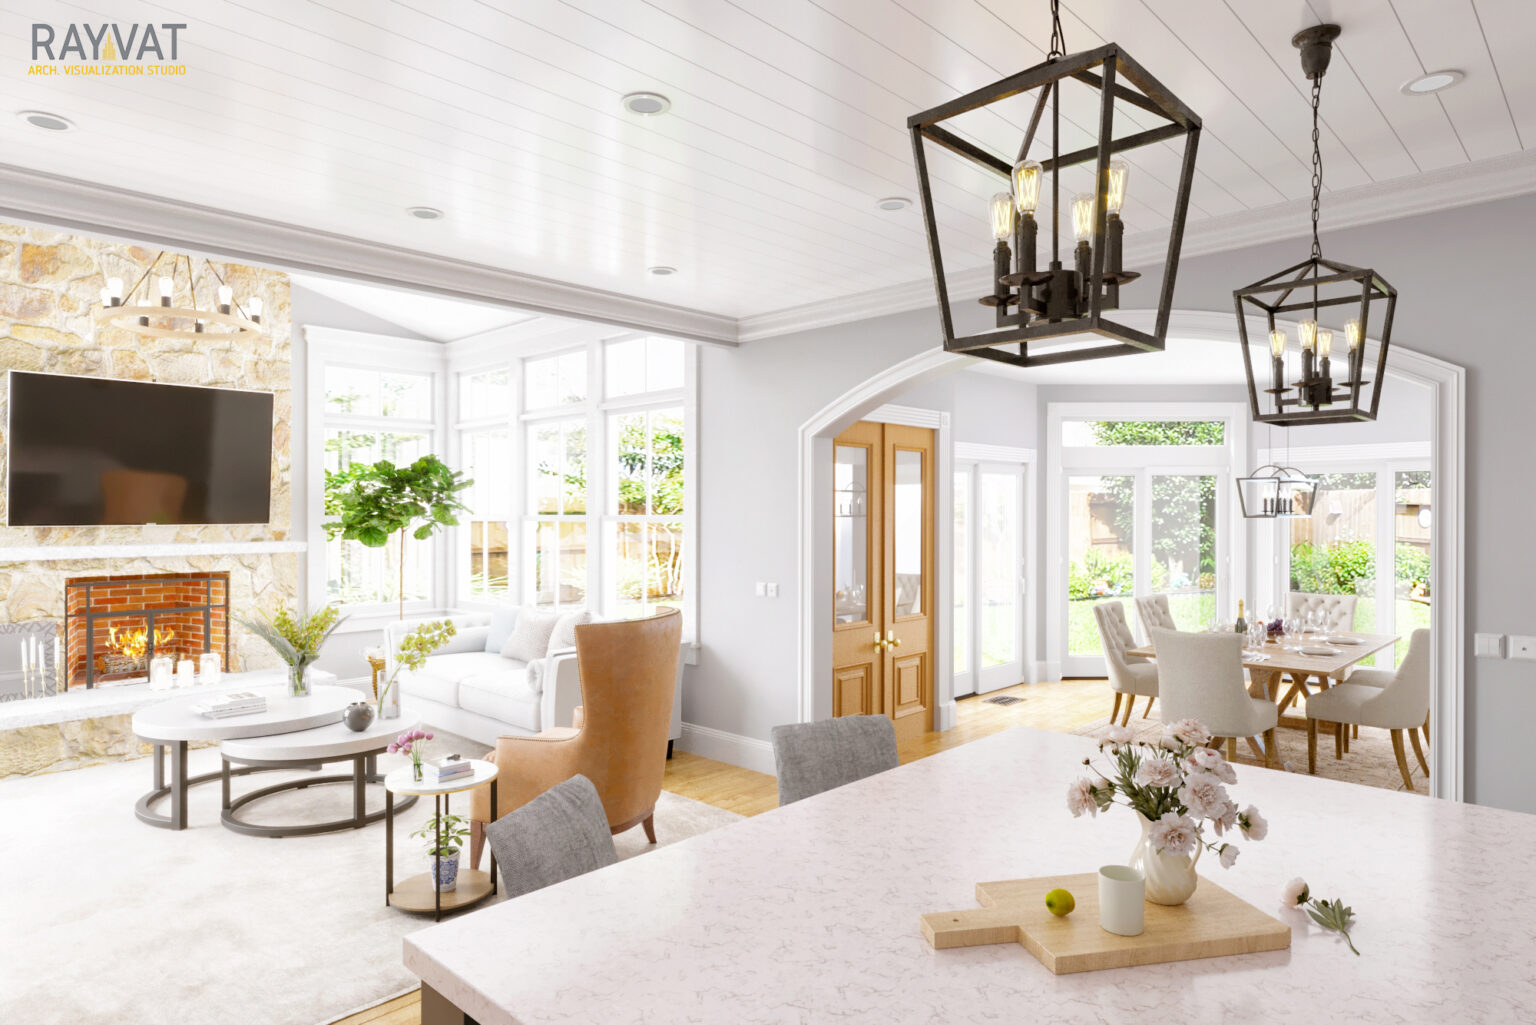
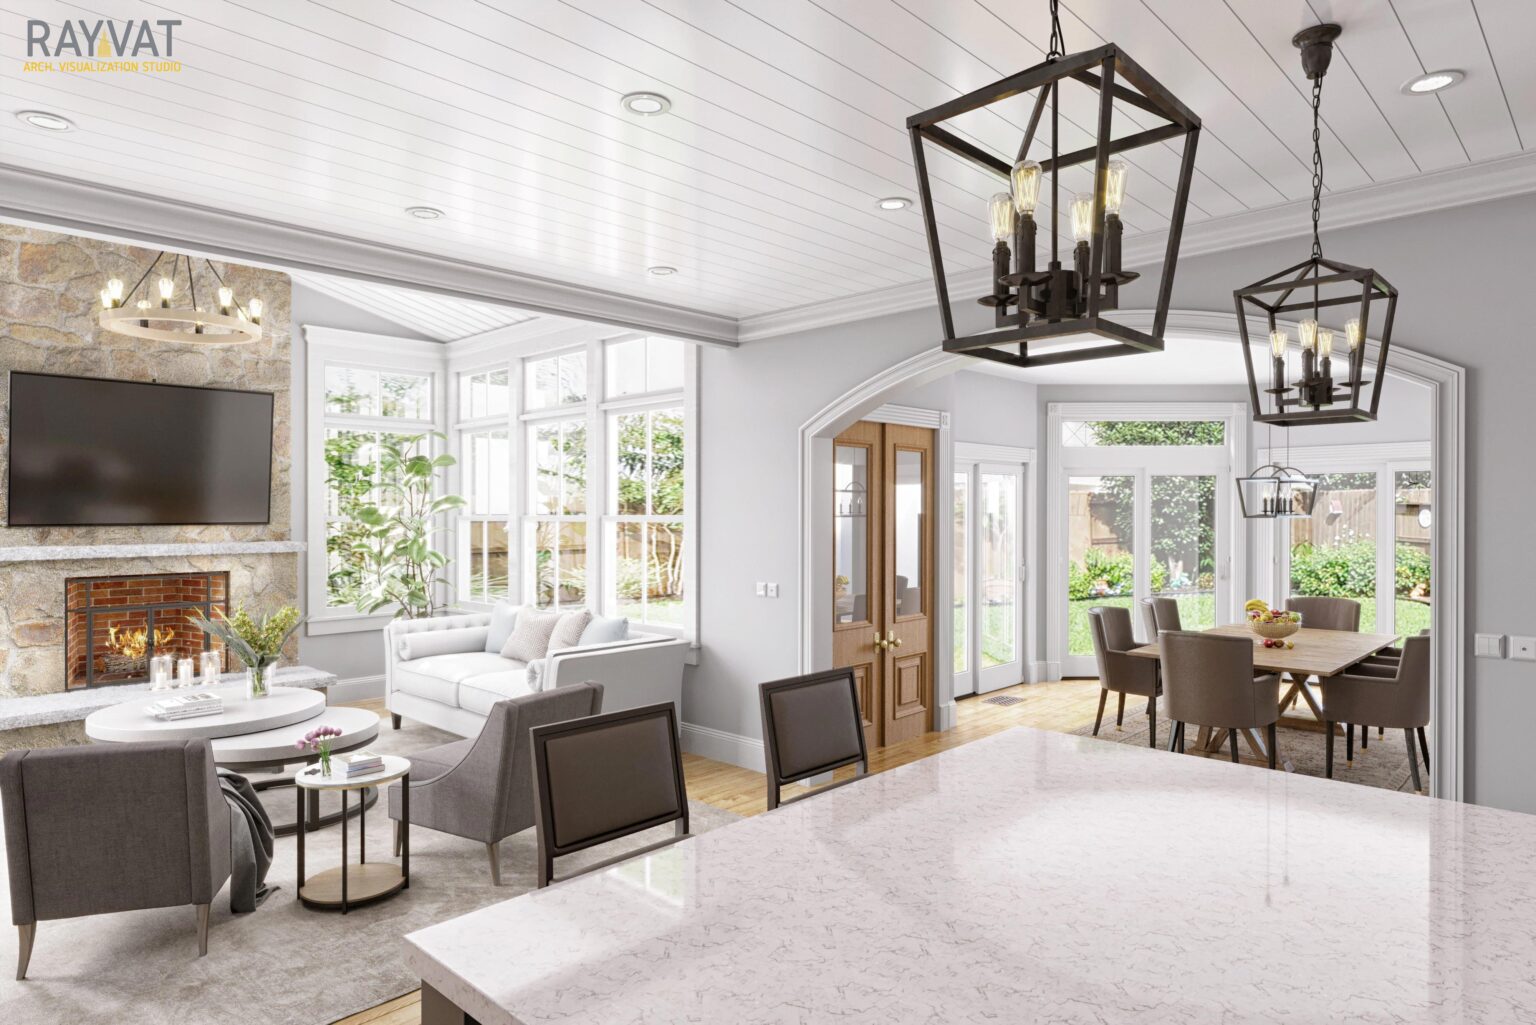
Once the massing is done, the artist will add details such as colour, texture, and finish. The lighting will be adjusted and shadows will be added for depth and perspective, and to make the image come to life. The more the detail, the more compelling will be the final visual narrative.
If you would like to give viewers a fully immersive Virtual Reality experience, you can add a button that prompts them to switch to a VR headset. They will be able to view the property as though they are actually walking through it.
FINAL DESIGN:
After the colour draft is finalized, the image will be prepared for the final rendering and post-production. This is usually done through Photoshop and will take time depending on how high the image quality is expected to be.
WHAT ARE THE VARIOUS DETAILING CONSIDERATIONS?
There are several aspects that must be taken into consideration before the final render.
Selection of the Camera Angle: Which is the viewpoint that will show your project in the best possible manner?
Modeling: Fine-tuning the massing to the exact dimensions and specifications, for the building and the furniture, fixtures and equipment.
Lighting: Selecting the degree of natural and artificial light in your scene, which is important in terms of bringing mood and setting the tone of your render.
Materials: This involves fleshing out details of the materials including colour, texture and finish to the massing.
Rendering: Determines the quality and produces a readable file format to the same quality as the imagery seen on your studio’s software. 3D visualizations are large files and the rendering process takes a significant amount of time.
Post-Production: Includes the final touches after the rendering process, adding details that enhance the hyper-realistic quality of the image.
MARKETING
Once you have your 3D rendering, it can be used to market your project through print or digital marketing channels to generate a buzz and increase interest in your project. Some popular channels are through sales centres, websites, social media platforms such as Facebook, Instagram, LinkedIn, and Twitter, and so on. Print ads, posters and banners, brochures, or a large hoarding alongside the site, magazine ads and so on can also help in marketing your project.
You can also explore new-age technologies such as 360° renderings, virtual tours or even augmented reality and virtual reality experiences. These 3D interactive services provide an immersive experience that places the user in the middle of your project, allowing them to virtually experience what it would feel like to live there. You can choose to enhance your presentation using drone and aerial photography, and include the context of the surrounding neighborhood, with panoramic views and background imagery.
GET THE 3D ADVANTAGE!
The investment you make in a 3D architectural rendering is a small price to pay for the visibility you will get, and this is an invaluable marketing tool that will give you a decided edge over the competition. We’d love to help you to visualize your next real estate project.
For enquiries, Contact us today at +1-(888)-863-4445 or email us at engineering@rayvat.com or fill up a short enquiry form here.

.jpg)


